'Stained Glass' Candy Sugar Cookies
One cookie my daughter Mila always asks to bake are these Candy Cookies, as we call them. They are not only fun but make for a pretty cookie in the end. We use crushed candies to make a stained glass type of effect with the cookie. It makes Mila so excited, I have to admit they make me happy too.
We first made these for a brand campaign we worked on last year and I never brought the recipe here for you all to try out. I figured Spring Time would be the perfect time to try these out with your kids. They will no doubt love the candy part, and if you hold them up to the light they sure are pretty!
I like to jazz up my sugar cookie dough with almond extract, but you can omit that if you can’t have almond. You could even try a lemon extract too. I love the subtle taste the almond extract gives these buttery cookies. Keep in mind these would work with Gluten Free flour too, my favorite is the 1:1 GF Flour by Bob’s Red Mill. I walk you through the recipe down below. Let me know if you plan to make these this Spring with your family!
‘Stained Glass’ Candy Sugar Cookies
Ingredients
1 cup unsalted room temperature butter
3/4 cup white sugar
1 egg
1 tsp vanilla extract
1/2 tsp almond extract
2 cups flour
1/2 tsp baking powder
1/4 tsp salt
cookie cutter
handful of different colored Jolly Rancher Hard Candies
Makes 12-16 Cookies Pending On Cookie Cutter Size
Directions
Step 1: Start by creaming together the butter and sugar until smooth. I like to mix mine for a few minutes until light and fluffy.
Step 2: Then add in the egg, vanilla and almond extracts. You can omit the almond if you need! Or try a different flavor like lemon.
Step 3: While your butter/sugar mixes with the egg and extracts, sift together the flour, baking powder and salt.
Step 4: Now, slowly add in the flour mixture into your wet ingredients. Once you’ve added all the dry into the wet stop mixing as soon as a dough forms. Place your dough onto parchment paper and chill for in the refrigerator for about 30 minutes.
Step 5: Once your dough has chilled, gently roll it out between two pieces of parchment until a 1/4 of an inch thick. Use your favorite cookie cutter and cut out cookies.
Step 6: Take a smaller cookie cutter and cut out shapes within your cookies. Once your cookies are cut, let them chill again for about 15 minutes before baking. Refer to the photos above for reference.
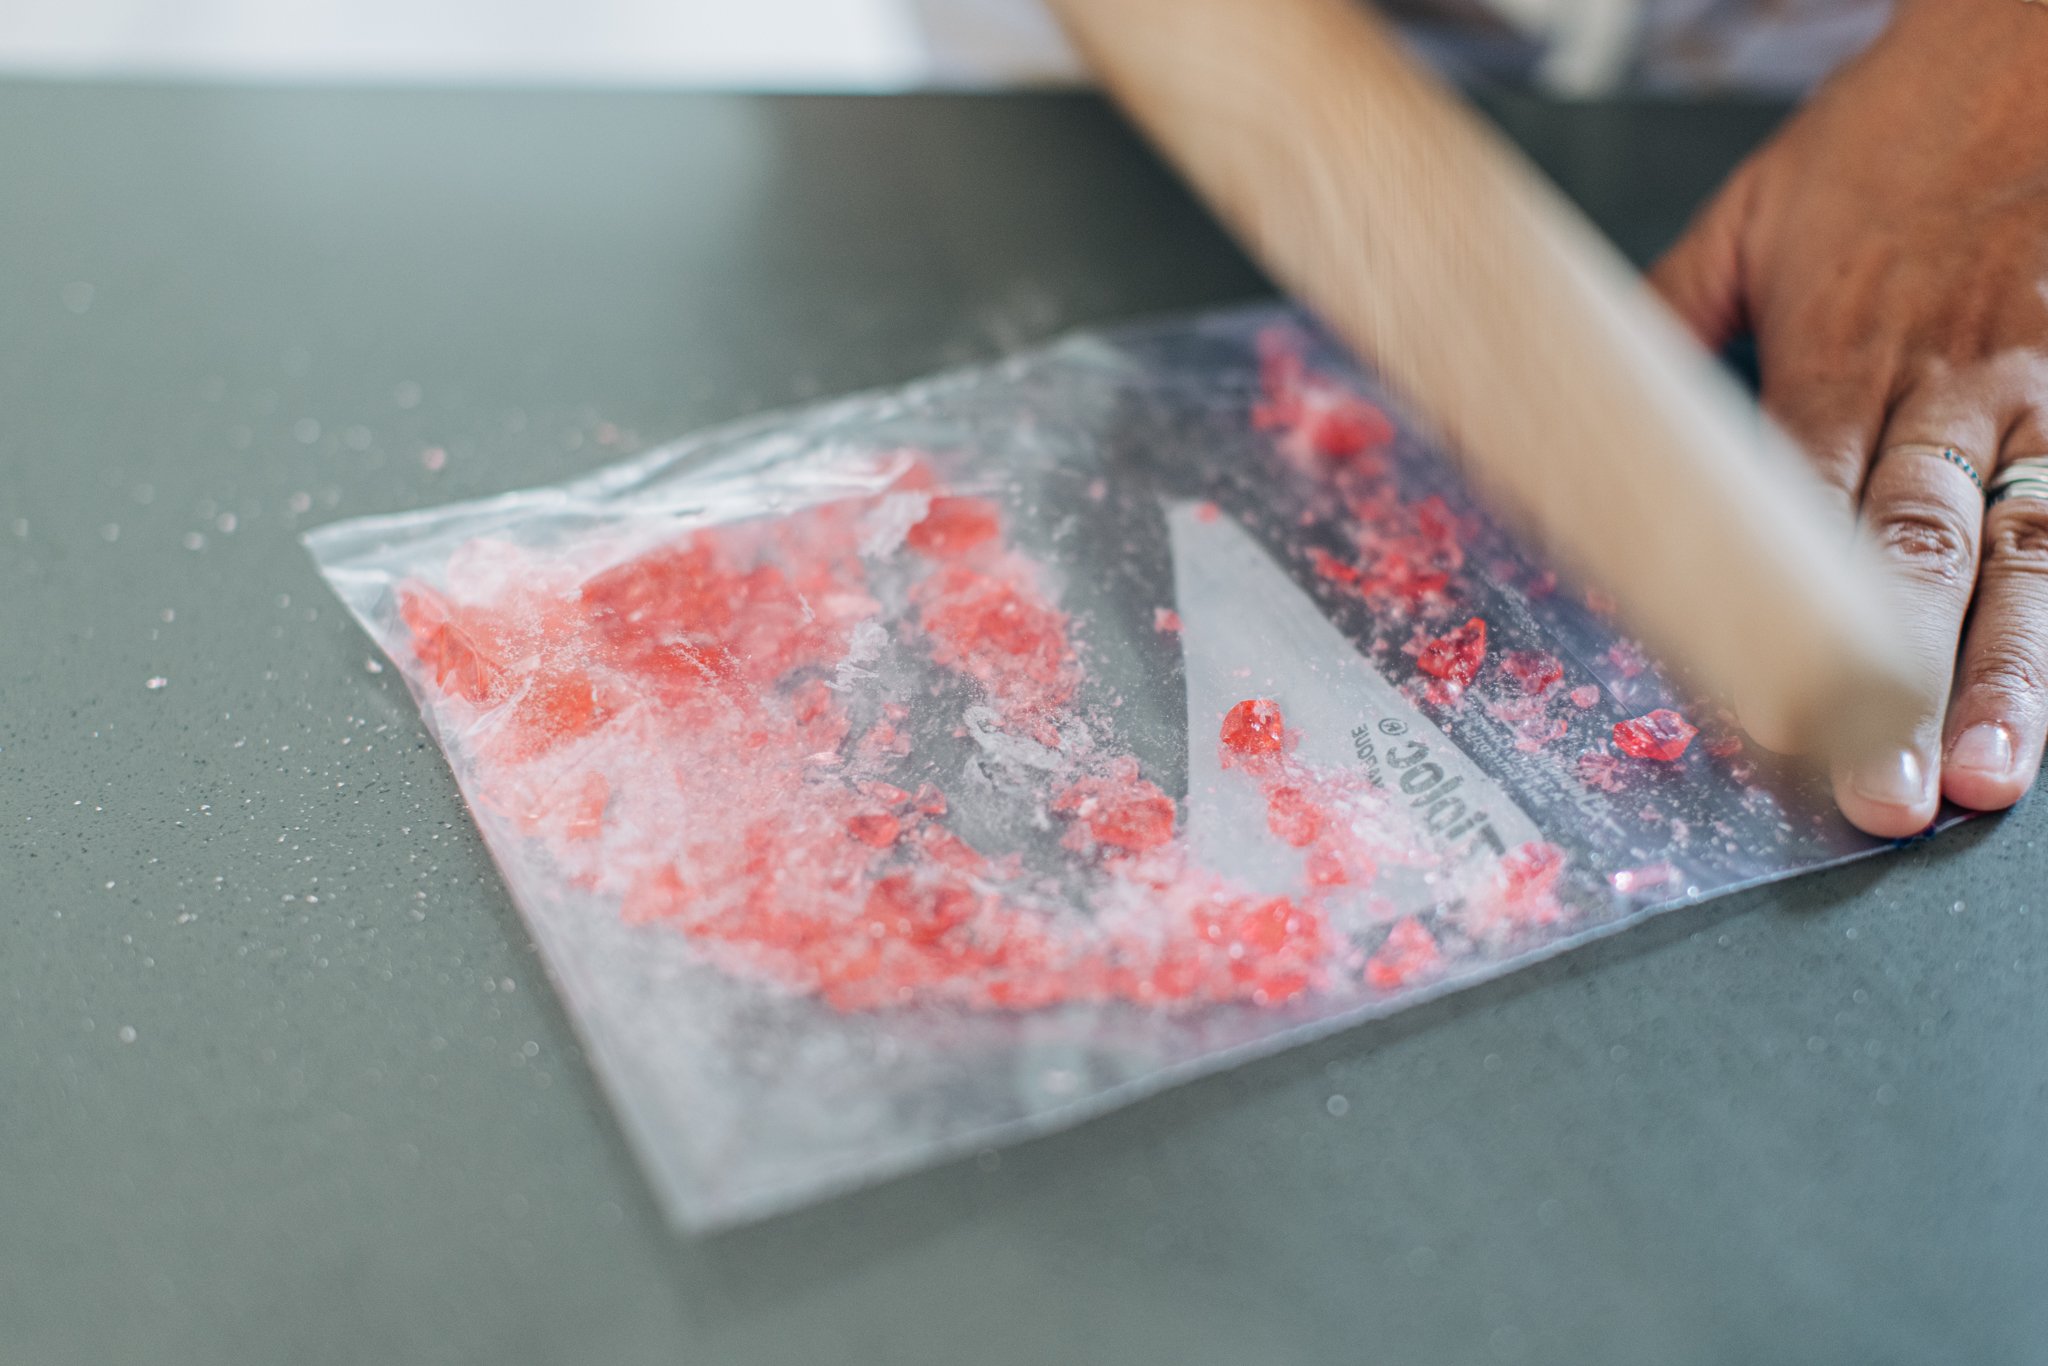
Step 7: While your cut cookies chill, preheat the oven to 375 degrees and smash up the hard candies until they resemble really corse gravel. .
Step 8: Place your chilled cookies onto a baking sheet lined with parchment or a silicone baking mat.
Step 9: Sprinkle the hard candies into the small cut outs within your cookie. You’ll want to fill the cut out here all the way to the top. Bake your candy filled cookies at 375 for about 14 minutes. Just until the cookies are slightly golden around the edges and the candy has melted.
Step 10: Let your cookies completely cool before moving them. This will allow the candies to harden back up. Once your cookies are cool, lift them to the light to see it shine through the candy cut outs within your cookie! Enjoy!

